Phone:
+86 13828 600940
Physical address:
No.8Liyuan Road, Bogang community, Shajing Street Baoan District, Shenzhen, China
Phone:
+86 13828 600940
Physical address:
No.8Liyuan Road, Bogang community, Shajing Street Baoan District, Shenzhen, China
Building an auto checking fixture needn't be daunting! With some creativity and know-how, you can construct one tailored specifically to meet your individual needs.
Are you tired of spending endless hours manually inspecting parts, or worried about inconsistencies in your manufacturing process? Fear no more! In today’s fast-paced world, efficiency is of utmost importance – that’s why we present you with this comprehensive guide on building an auto checking fixture for yourself. Whether you are an engineering enthusiast or small business owner alike, this comprehensive guide will take you step by step through every stage of creating one yourself – revolutionizing operations while elevating quality control standards at once! So buckle up and prepare to explore this exciting world!
Building your own auto checking fixture is an efficient and cost-cutting way to test the accuracy of car parts. By using an auto checking fixture, measurements can be quickly checked without taking them off assembly lines, while also testing for leaks, cracks or any defects.
Auto checking fixtures offer numerous advantages. First and foremost, they can increase measurement accuracy by automating part inspection, which eliminates human error and ensures accurate readings every time. Auto checking fixtures also aid production line efficiency by freeing up workers for other tasks such as assembly or packaging – ultimately increasing overall production throughput efficiency and throughput rates.

There are three primary categories of auto checking fixtures: two-dimensional (2D), three-dimensional (3D), and optical.
2D fixtures are an efficient method for performing basic dimensional checks. A 2D fixture usually consists of a baseplate featuring precision-machined holes or slots which correspond with features on the part being checked, then placed inside and measured using calipers or other measuring devices to check dimensions accurately.
3D fixtures are frequently employed for more complex dimensional checks and to verify assembly alignment and fitment issues. A typical 3D fixture consists of a baseplate equipped with precise-machined holes or slots designed to align with features on the part being checked; when this part is placed inside this fixture it can then be measured for dimensions using laser scanners or other high-tech measuring devices.
Optic fixtures are used to inspect surface finish and dimensional tolerances of parts. An optical fixture typically comprises of a baseplate equipped with holes or slots precisely machined to match up with features on the part being checked; then once in place it can be illuminated using special lighting so inspectors can detect even minute imperfections.

Designing an auto checking fixture requires taking several factors into account to ensure its accuracy and efficiency in testing procedures. Here are a few key design considerations you should keep in mind:
First and foremost is the size of the part to be tested; an auto checking fixture must be capable of accommodating it; thus making this aspect an integral factor of design.
An important consideration when designing an auto checking fixture is how many points must be checked on a part. As more points require examination, more complex the auto checking fixture will become.
Consideration must also be given to how many parts must be tested simultaneously. If an extensive amount of components must be checked at once, an automated system may be necessary and would necessitate different design considerations than when only a handful are being examined at once.
Considerations should be given to what tolerance level will be required during testing, which will influence how precise measuring devices must be within an auto checking fixture.
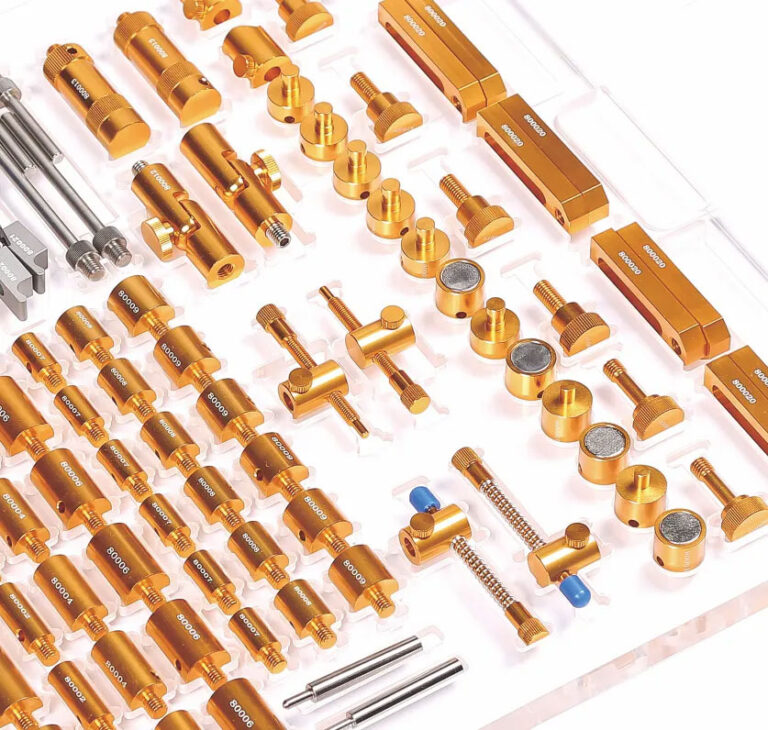
Building your own auto checking fixture requires several components in order to guarantee accuracy and repeatability, including:
-A Baseplate: Your checking fixture requires a strong baseplate made from sturdy material like steel or aluminum for maximum support and proper alignment of parts. Make sure it’s flat and level to ensure smooth operation of all moving parts.
Locators: Locators are devices used to place parts at their proper positions on a baseplate. They can either be adjustable or fixed depending on your requirements.
Gauges: For accurate measurement of parts, various gauges such as calipers, micrometers and depth gauges will be necessary.
Fixturing devices: Fixturing devices serve to hold parts securely in place while they’re being measured, such as clamps, pins, or vacuum Chuck’s.
Making your own auto checking fixture needn’t be difficult or expensive; with just some time and effort, you can build one to save money and maintain top condition of your car. Here is a step-by-step guide that can help get the process underway:
1. Determine what type of auto checking fixture you require. With many types of fixtures on the market, it is essential that you find one which will best meet your needs. Do some research to identify what would work for your make and model of vehicle.
Once you have determined the type of auto checking fixture that best meets your needs, select durable materials capable of withstanding frequent use.
3. Follow the Assembly Instructions Carefully – Most auto checking fixtures include straightforward assembly instructions. Take your time and follow them carefully so that your fixture is assembled correctly.
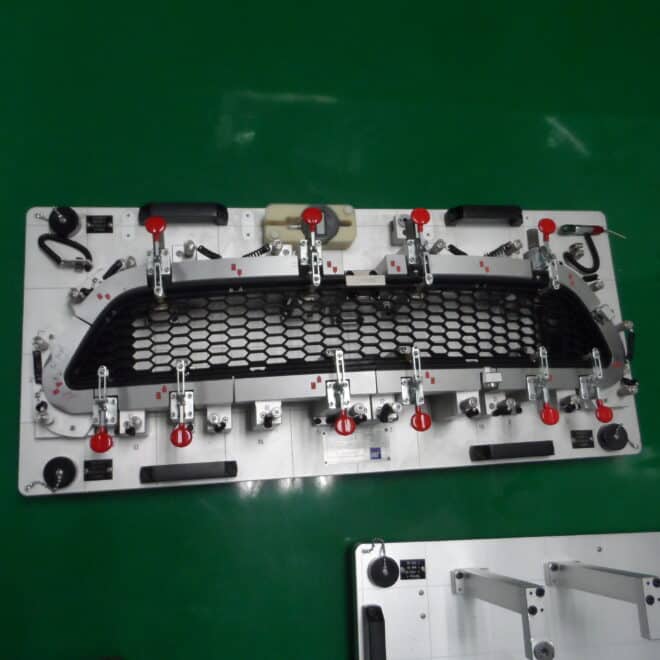
4. Install the fixture in your car. Once your auto checking fixture is assembled, follow the installation instructions closely for proper placement in your car.
5. Use Your Fixture Regularly. Once your auto checking fixture is in place, be sure to utilize it on a regular basis to monitor fluid levels, tire pressure and other vital components of your car – this will keep it running efficiently while helping prevent costly repairs down the line. By regularly using it as intended, using it regularly will keep your car running smooth while helping avoid costly repairs in the future.

Once your auto checking fixture is assembled and tested, it’s time to put it through its paces. To do so, connect it to both a power source and air compressor; turn both on; cycle through its full range of motion; if everything works smoothly, its indicator lights should illuminate when various parts move into their positions; otherwise it must be adjusted or repaired before production testing can commence.
Alternatives to building an auto checking fixture that are equally as effective include using a laser scanner and CMM (coordinate measuring machine). Both will quickly and efficiently scan parts while creating three dimensional models of them, respectively.
Building an auto checking fixture needn’t be daunting! With some creativity and know-how, you can construct one tailored specifically to meet your individual needs. In this guide we have provided advice for creating an effective checking fixture to help guarantee quality products – we hope this information has proven helpful in building your own auto checking fixture!